|
How to add text on the image in GIMP 2.8.4.
|
If you don't have GIMP 2.8.4 you can download it from here
Sometimes we need to add the name on the image to make personalized badge. In that tutorial you will learn how to add the text on the image, save new image.
Before you start working with the collage save a copy of the collage in a folder as a saved file without any changes made.
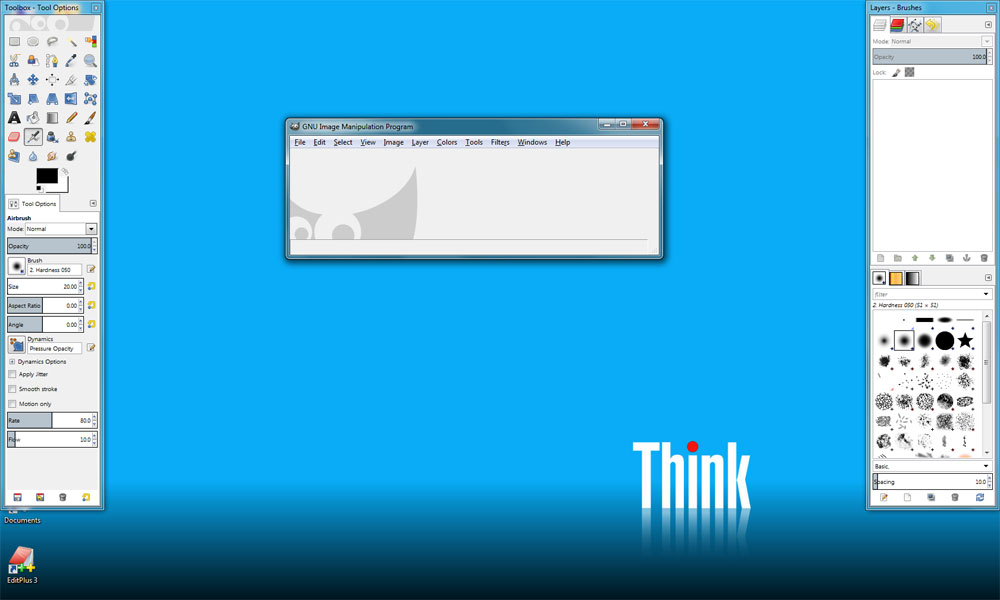
Step 1: Open GIMP
Your screen will look like the picture shown below:
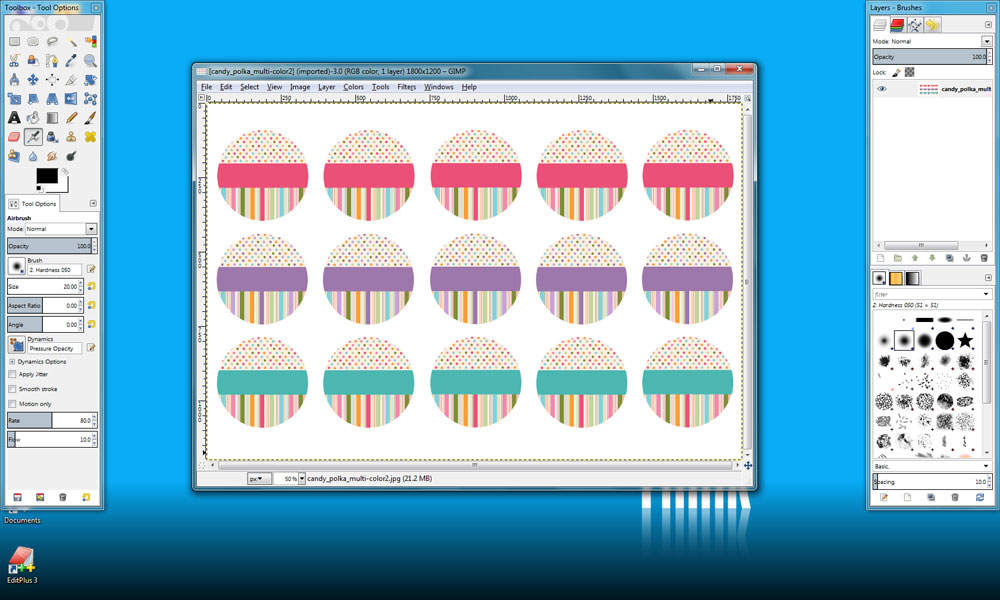
Step 2:
Open a collage sheet from your folder containing the image you would like to add the text on. File » Open. :
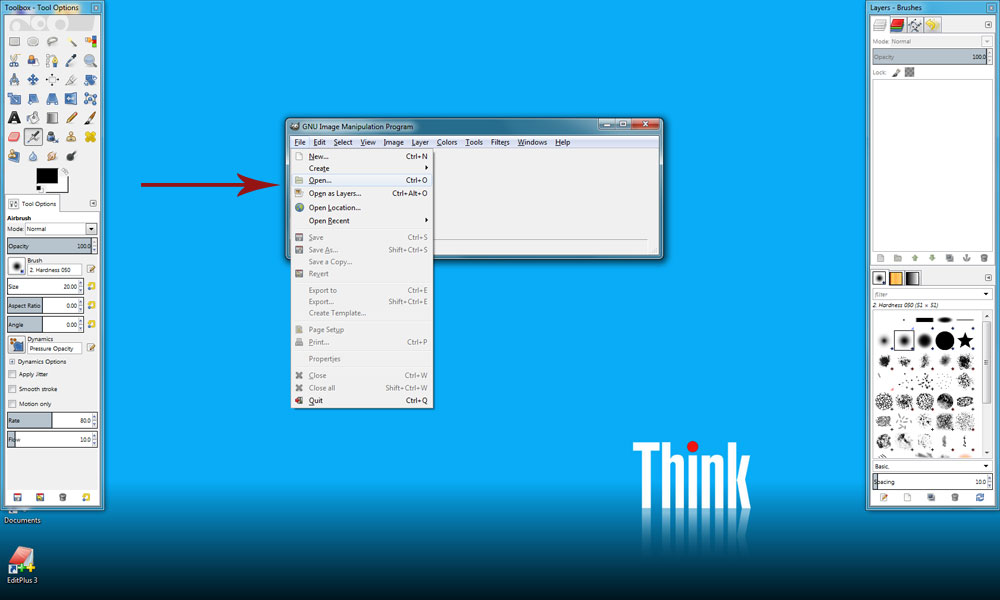
Your screen will look like the picture shown below:
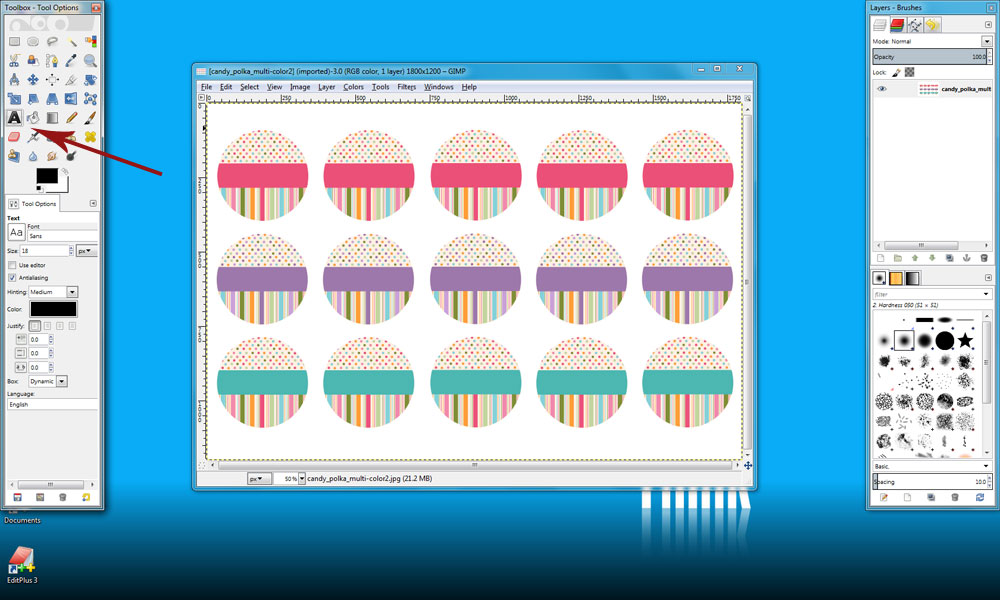
Step 3:
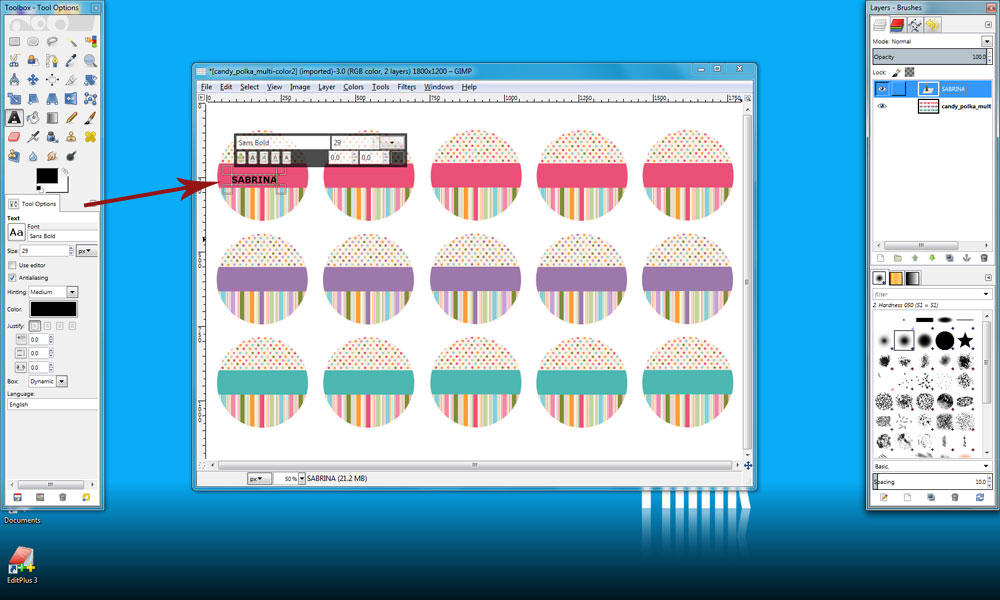
Select the Text tool. To do this, click the Text tool icon [A] from the main toolbox:
Step 4:
Click within the image, roughly where you would like the text to appear. Enter your text using the current style. Don't worry if it's not in the style you want, you can change the style later on. At this stage, it should look something like this:
Text And Layers
When you add text in GIMP, a new layer is added automatically. When you view your Layers dialog, you will see a new layer containing the text you just created.
This is quite handy, as it gives you the ability to manipulate the text without affecting other parts of the image.
Manipulating The Text
Once you've added your text, you can then manipulate it as required. For example, you can change the font family, change the size, color, etc. You can also do things like, apply special effects/filters against your text, transform your text using transformation tools, etc.
Step 5: Changing The Font
Make sure you still have the Text tool selected (on the main toolbox icon [A]), and that the correct layer is currently selected/highlighted. If these aren't selected, select them now.
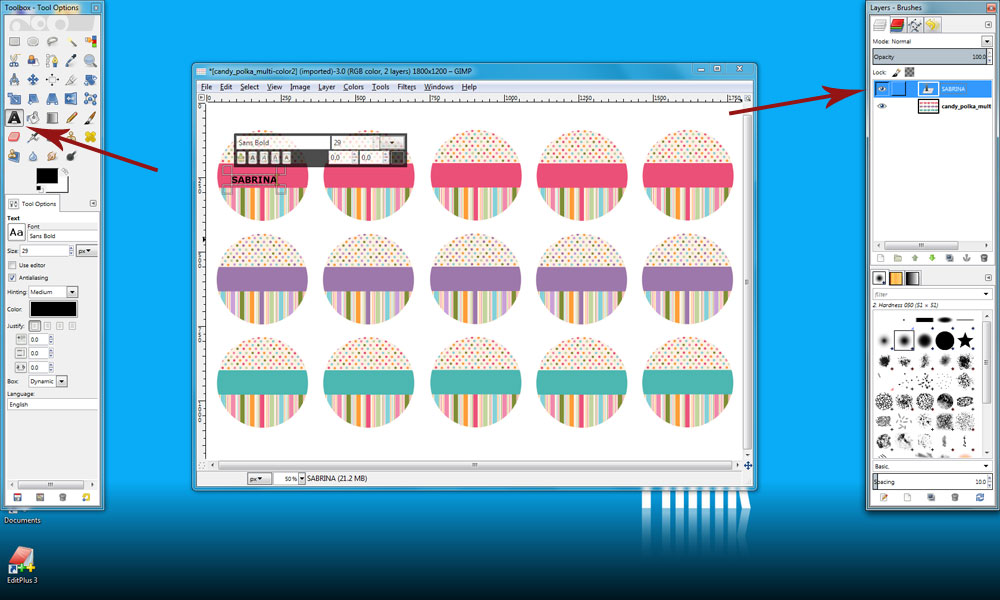
Click somewhere on ‘Sabrina’ to select the text.
Step 6:
Open the Tool Options dialog. You do this by selecting Dockable Dialogs > Tool Options. The Tool Options dialog looks like this:
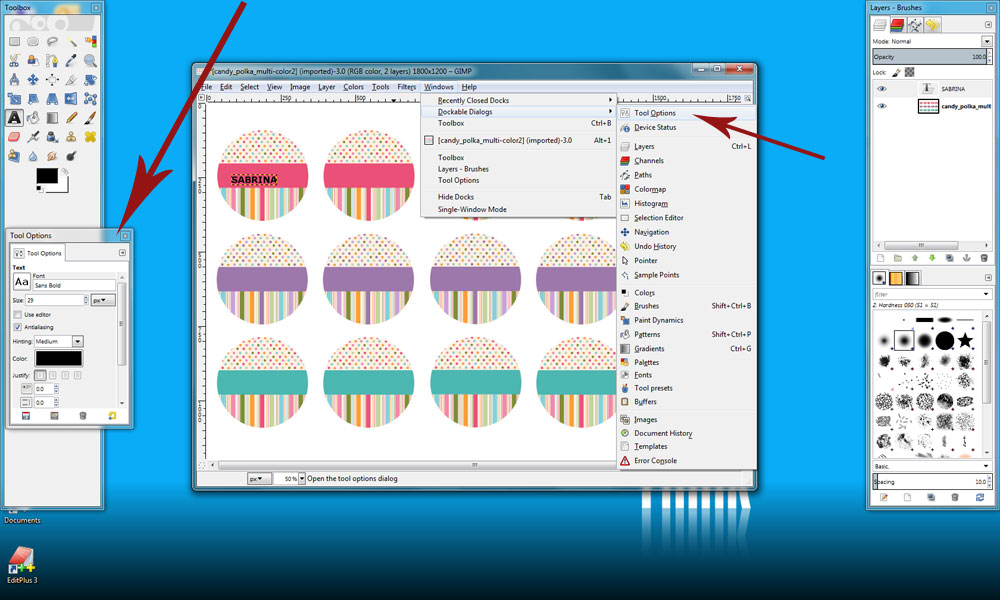
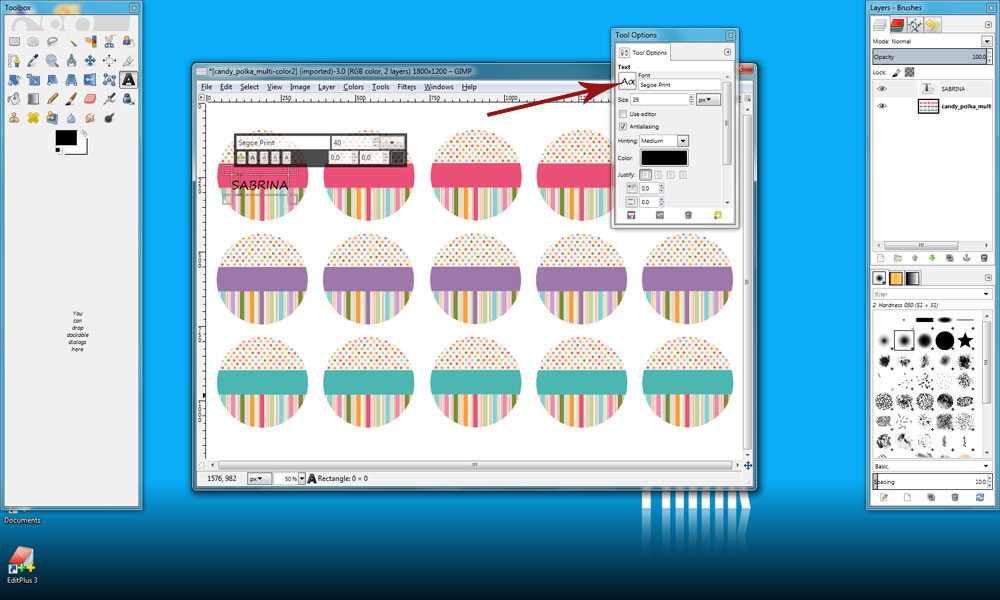
Change the font as required. To do this, click on the "Aa" button and select a font from the list. As you can see, there are other properties that you can change here.
A common mistake by beginners is that they forget to do step 6. In other words:
• They forget to select the correct layer before changing the text properties; and/or
• They forget to select the Text tool (from the main toolbox). This results in the Tool Options dialog not displaying the font properties (it presents properties for a different tool - whichever tool is selected)
So, if you have trouble getting the text properties to display, this could be the reason. So, don't forget to do step 5.
Step 7: Changing the Font Size
I did not get how to change the font size from Tool Options. It just does not work for me.
I make the next steps:
Click twice on the text (Sabrina). It will be highligtet in yellow color. In opened window enter the font size.
You see the text size is changing.
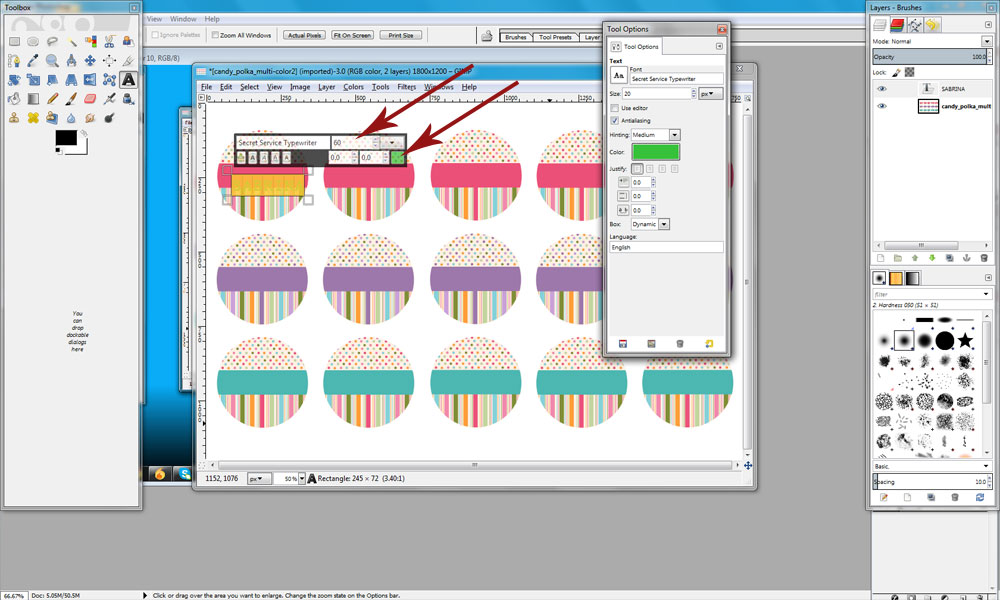
Step 8: Changing the Font Color
Click on the small square (see image above) and select the color in pop up window.
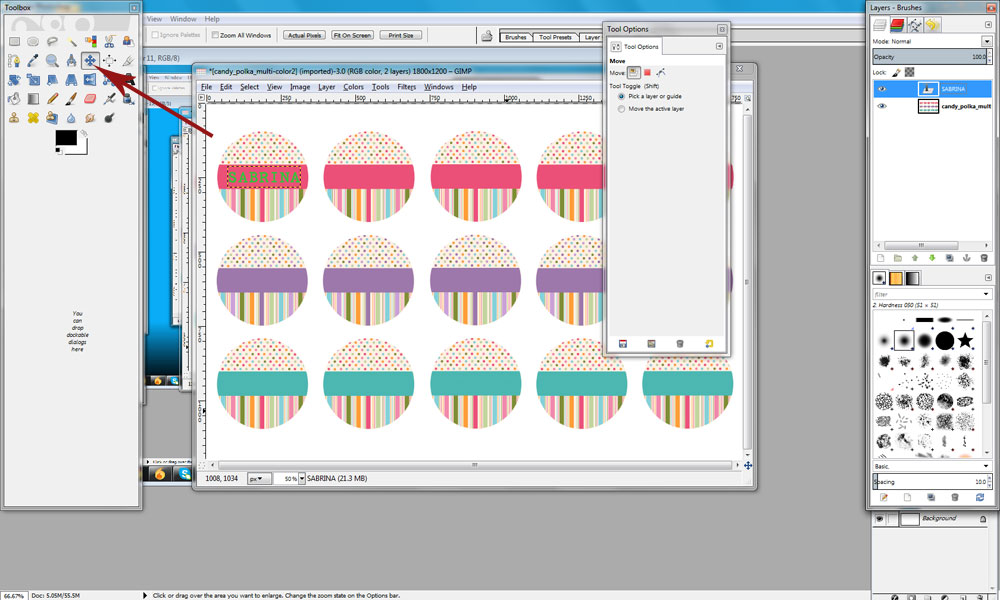
Step 9: Changing The Text Position
Select the Move Tool.
Make sure you still have the the correct layer with text is currently selected/highlighted. If these aren't selected, select them now.
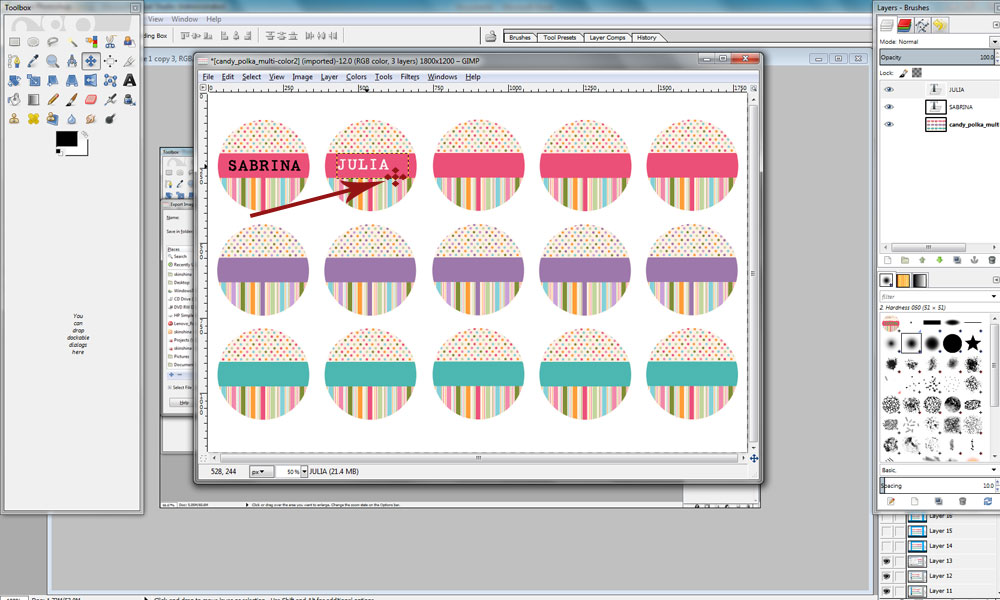
Click and hold on the text. Move the text to the correct place. If you can't move the correct layer please read the last instruction.
Step 10: Adding new text
If you want to add another text on the anoter image in the same collage start again from the step 3.
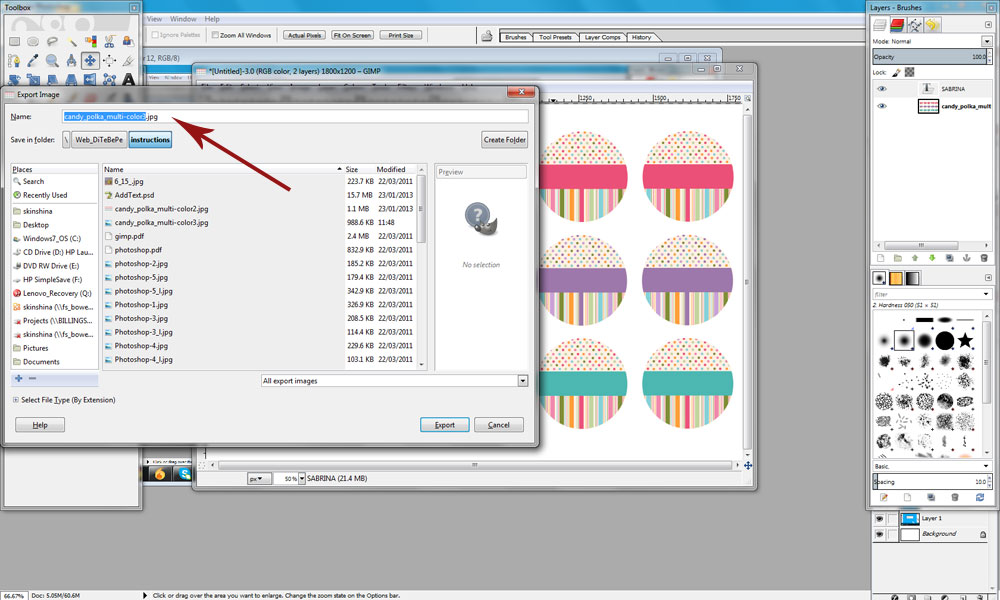
Step 11: Saving the collage.
Clcik File->export.
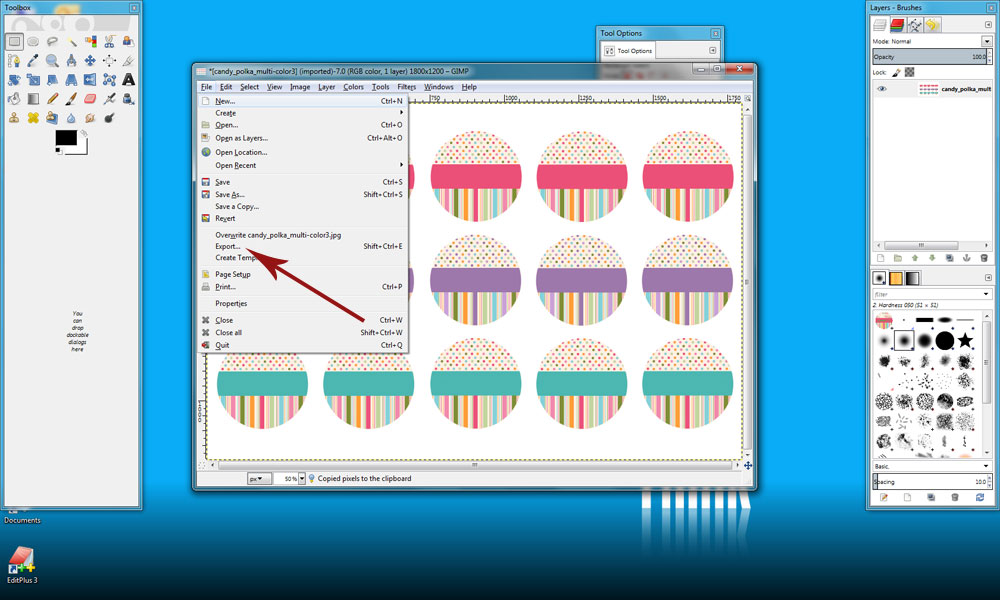
In opened window enter different name and click Export.
Please read: Move tool.
I have a big experience with graphics tools but MOVE TOOL in GIMP makes me crazy. Despite the fact I selected correct layer I want to move, the wrong layer was moved. After several attempts I finaly noticed that correct layer will be moved only if you see the small cross besaide the mouse pointer instead of pointing finger. You have to move the mouse above the image (layer, text) you want to move until the small cross appears. Click the mouse, hold and move the image.
 Enjoy!
If you have any questions you can get in touch with me on Contact Us page
Enjoy!
If you have any questions you can get in touch with me on Contact Us page
To cut images form the collage sheet for using with digital photo templates read the instruction "How to cut image from collage sheet in GIMP 2.8.4"
|